
Where will I get course support?
If you need any help with the coursework, always contact us on Live Chat. If we are not online to answer your question immediately, your Live Chat question will be converted into a ticket and your answer will be emailed.
When will my support time expire?
Your support time will not expire as all our courses include lifetime support.
Where do I get technical support?
If you have login or any other technical issues, we will resolve them on Live Chat.
SUPPORT
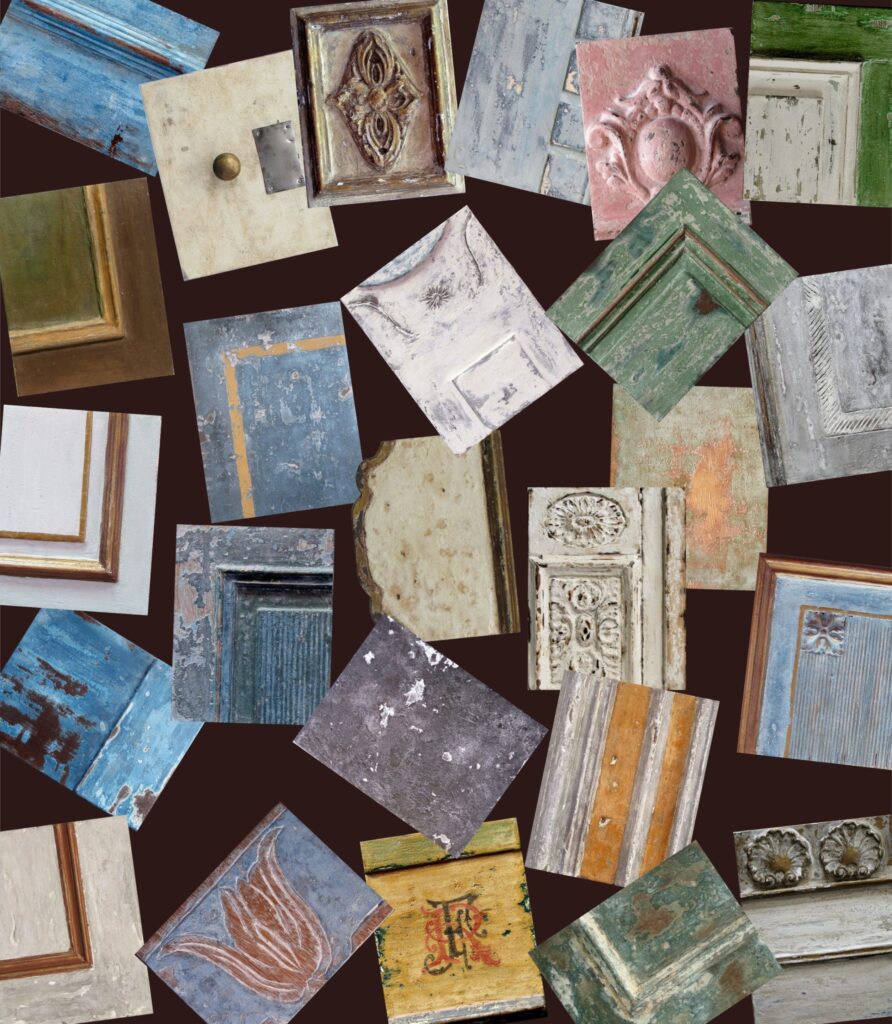
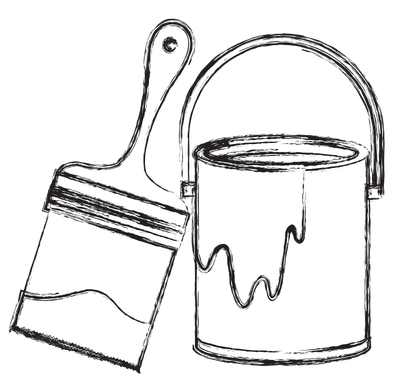
Will I learn to make my own paint?
Yes, all the finishes are done with paint you will make yourself from scratch, using the very old traditional recipes that we will provide.
What kind of paint is used in this course?
Using a farrago of basic ingredients and traditional recipes, along with a little modern technology, students learn to produce various homemade paints, stain, sealer and glazes from scratch, the way master craftsmen have done through the ages before the onslaught of modern commercial paints that contain chemicals and refuse to age to a beautiful patina! We, therefore, don’t use any store-bought paints in this course.
PAINT
How are the courses presented? Do I have to download videos or will you send me course material?
Everything happens on the course site. After enrolling, you will receive emails with your login details to this site. The step-by-step videos can be replayed as often as you like. To make it super easy for you to follow, the videos are broken up into short bite-size clips. These video clips are silent, allowing you to listen to the music of your choice while you work. The written instructions are below each video clip, making it easy for non-English speaking students to translate the text and allowing students with hearing impairments to follow along.
TEACHING METHOD
How much time do I have to complete the course?
There are no time restrictions. You will have lifetime access to the course. So, you can take as long as you like. Some students work fast, others slowly. It is totally up to you.
When is the start date and how often are the classes?
You can start whenever you want to, and work where and when it suits you. You log into your account on the course website and work at your own pace. This means there are no classes that can be missed.
TIME
Do I have to be in a specific country to sign up for these courses?
As our courses are presented online, they are available worldwide to anyone with an internet connection.
Can I do the course anywhere in the world?
Yes, the course is available everywhere online.
Will I be able to find the ingredients to make my own paints in my country?
The ingredients for making your own paints, stains, etc., are all very basic and inexpensive and are mostly available from hardware stores and supermarkets. Some of it, you may already have in the kitchen. There are only a few items, like powder colour pigments, that you may have to get from an art supplier or order online. We can point you in the right direction.

COUNTRY
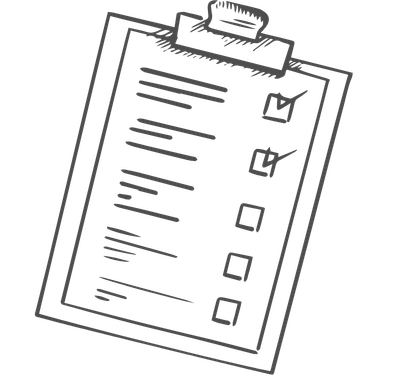
Are the materials and tools that I need expensive?
All the materials are in a raw state. We do not use any branded materials. As a result, it works out a lot cheaper.
What are the materials I will need to make my own paint, stain, etc?
Once you’re signed up, you’ll have access to the shopping list and an explanation of each item, as well as where to shop at low prices if you do not already have it in your fridge, kitchen cupboard or workroom.

MATERIALS & TOOLS
Are these courses only in English?
We are in the process of translating both courses into multiple languages. These will include SPANISH, ITALIAN, PORTUGUESE, FRENCH, GERMAN, POLISH, SWEDISH, DANISH, DUTCH and NORWEGIAN. Keep in mind that, the courses are broken up into lots of short step-by-step video clips. The videos are silent and all the written instructions for each video clip are below each video. That way it is easier for non-English speaking students to translate each bit of text in something like Google Translate.
My English is not very good. How would support work for me?
We have many foreign students with a very basic English. They ask their questions in their own language in our Live Chat on this site. Live chat automatically translates their text to English for us to understand. We answer in English text, which is then automatically translated again to the specific language. The system works well and these students are all creating very beautiful patina this way.
If you would like to test the support translation, chat with us now by starting the conversation in your own language.
